Sunday, October 23, 2011

Picking Up Where We Left Off...

With some help from family (thanks, Dad!), we made more progress with the exterior wall. In the last post, you could see the rigid foam insulation on the exterior:
We put up the JumboTex house wrap over the foam. The white chalk lines show where there are studs underneath.
 Next, plywood blocks were screwed into the studs at 16" intervals.
And smaller blocks were then nailed to these. Longer vertical boards were fastened every 48", which is where the seams of the fiber cement panels will go. These boards will create and air gap between the foam and the fiber cement panels and will also give us something to screw the panels into.
 A narrow panel -- the first one -- went into place next to the doorway.
 And was painted with primer.

Sunday, September 25, 2011

Wall Work

This is what the "courtyard" looked like last winter.

The courtyard now. Rebuilding the exterior wall. Openings for the hopper windows for bathroom (left side) and master bedroom (two on right side).


Looking out from master bedroom.

Bathroom window.

Putting up the foam insulation.

Pollen-laden bee in front yard.

Puffball and mushrooms.

Sunday, August 21, 2011

Sweating the Details

The original builders of our house were definitely not detail oriented. Take, for example, the way they installed the insulation in the walls. It says right on it, plain as day, which side should face inward. "Apply this vapor barrier toward living space heated in winter." Apparently, it should have said, "Wrong way, Dipshit."
Tom lives at the other end of the detail-orientedness spectrum, so he takes the time to think through the construction details, and especially about air and water penetration. 
Planning out door frame construction.

This door from the Habitat Re-Store didn't have a frame. Detail of frame construction with weather  stripping added around frame and the bottom of the door. The diamond plate steel threshold came from a local metal scrapyard.

Flashing and wrap to prevent water penetration.

Preparation of opening for sliding glass door.

Sliding glass door installed! We found this one on Craigslist.

Flower garden in mid-August.

Sunday, August 14, 2011

Kitchen Window and Door

It has been much cooler here in the last few days, which has made working much more pleasant. Work has focused on installing the door and window in what will be the kitchen. The door came from our local Habitat ReStore and the window came from another local home, so both are being recycled here. Tom built custom frames for both. You can see the foam board insulation going up on the exterior. It will soon be covered with fiber cement panels.


The door and window in place, above. The foam board is protected by house wrap and a wood frame is in place that will support the cement fiber siding.
We're also preparing for working on the front side of the house, so more of the vinyl siding has come off, and the brown board will come off too. The windows will be replaced and the exterior walls will get the same treatment as the back side of the house.


Tuesday, July 26, 2011

Vapor Barrier: Check! Subfloor: Check!

We checked two more things off the to-do list. The vapor barrier is down in the crawl space. Before and after photos follow:

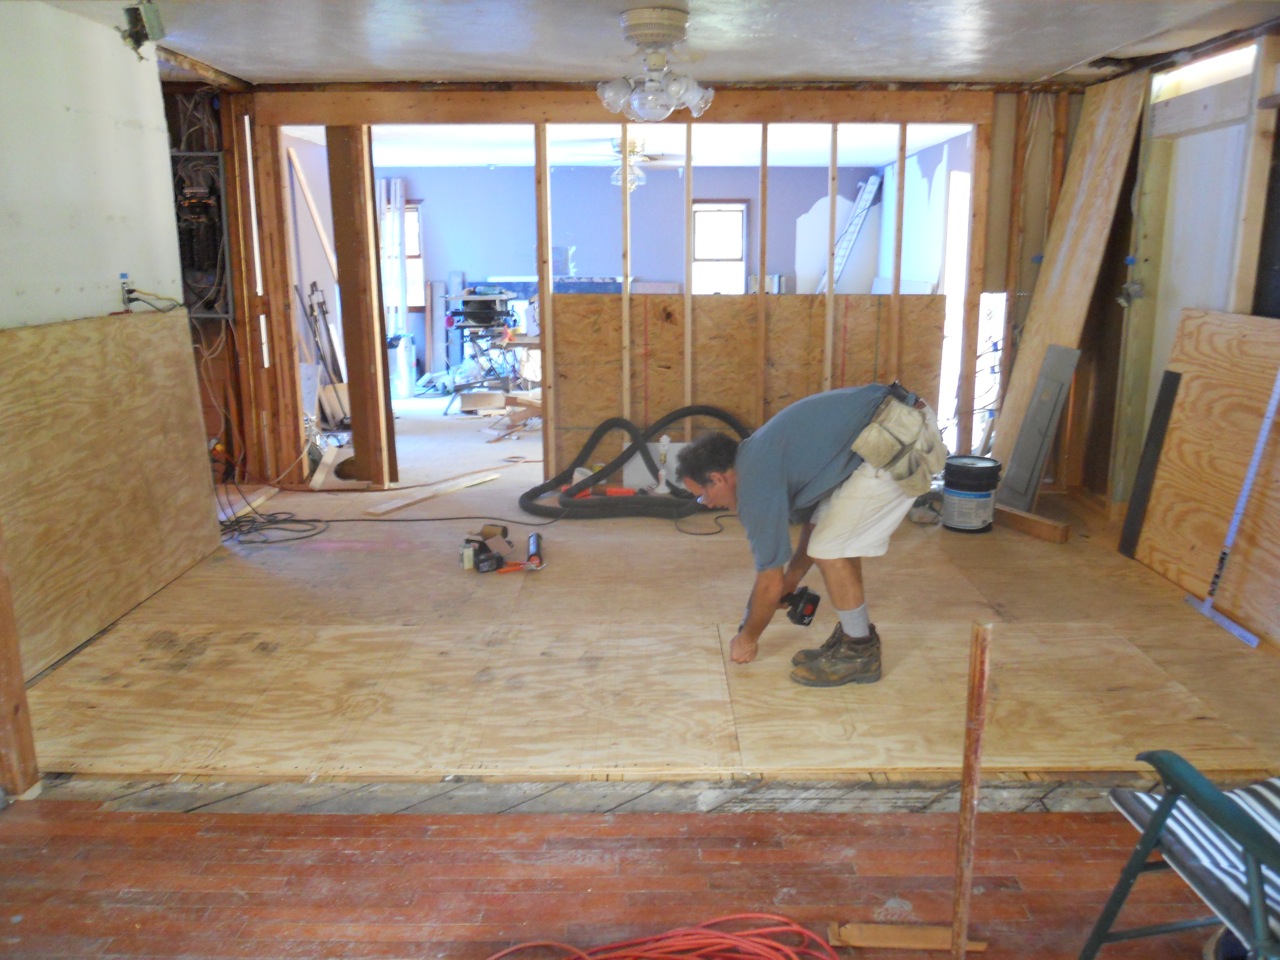
And we finished installing the joists and subfloor in the kitchen, laundry, and bathroom.
Early days: Kitchen demo in progress

Kitchen: No walls, no floor

Screwing down the last subfloor board
 The space below will eventually be divided into a laundry room and a bathroom.
New sistered joists

A floor!

Sunday, July 17, 2011

July Progress

Hot summer days are here, and we are finding out the true meaning of "sweat equity." The hot, dry weather has been good for drying out the crawl space as we prepare to put the vapor barrier down next week.

The last few days we've been getting some of the plumbing done. The drain to the septic tank is now in, and the drain pipe for the kitchen sink is poking up through the floor.
Glueing the PVC together

Making it fit

Figuring where to drill
Drain for the kitchen sink
Repair work and reframing has continued on the exterior wall. The rough door frame and sidelight are visible, and the blue tarp makes a rather atmospheric glow.
A good solid wall with door frame and sidelight openings

We took a field trip to the local metal scrap yard to get some steel tread plate that will be used for the door sills. The place was amazing and our imaginations were going wild with all the possibilities of the metal scrap.
Love the color of the rusty steel. Can you make a backsplash from it?


Cutting the tread plate with a plasma torch
We've also been doing gardening and yard work, which means contending with poison ivy and its impostors. Can you find the real poison ivy in the pictures below?
A

B

C

D
Only one of these is really poison ivy. A and C are five leaf ivy, which gets sneaky and sometimes has a few three-leaf clusters. B is box elder, and I can't say how many times I've had to pause when I come across this. It's a tree, but the young saplings look a lot like p.i. D is the real thing. 

Even though there are open floors and open walls and no plumbing, it finally feels like things are happening faster and that momentum is building. In the next few weeks, the vapor barrier will go down, floors will be put in, walls and windows will go up, and our house will take shape. Things are looking up!